

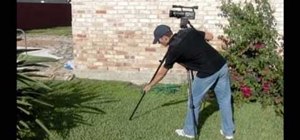
If shaky home videos are making your audience seasick, it's time to steady your hand. Watch this video to learn how to make a camcorder stabilizer.
Step 1. Begin building bottom
Attach two 45-degree elbow connectors to either end of a 6-inch PVC pipe. This will be the bottom of your camcorder stabilizer.
Step 2. Attach T-connector
Add a piece of 2½-inch PVC pipe to each connector's open end and then attach a T-connector to both.
Step 3. Connect PVC to cross
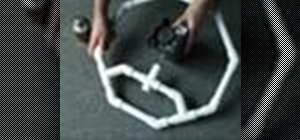
Separately, affix the two 3-inch pieces of PVC to opposite ends of the four-way cross connector. Attach an elbow to the open end of each 3-inch piece. This assembly will serve as your camera's base.
Step 4. Link Ts to elbows
Attach the two assemblies you've built so far by attaching the elbows to two 1½-inch PVC pieces, and those pieces to the inward-facing holes in the T-connectors.
Step 5. Add remaining PVC pipe pieces
Add the remaining two 2½-inch PVC pipe pieces to the open holes on each T-connector, and attach elbow connectors to the pipes.
Step 6. Connect side pipes
Attach a pair of 6-inch PVC pipes to the open ends of the elbow connectors. Attach elbow connectors to their open ends.
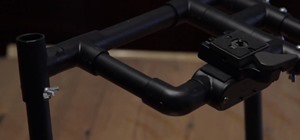
Step 7. Build top
Now build the top of the stabilizer. Attach a pair of elbow connectors to either end of a 6-inch PVC pipe. Then, attach the two remaining unused 6-inch pieces to the other ends of the elbow connectors.
Step 8. Attach top piece
Step 9. Seal with cement
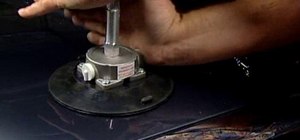
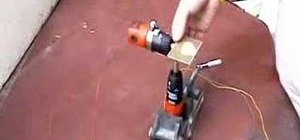
Step 10. Drill hole in end cap
Step 11. Thread bolt in cap
Step 12. Connect PVC to cap
Step 13. Attach wing nut and washer
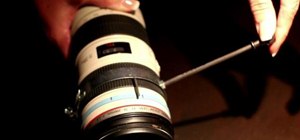
Step 14. Screw in camcorder
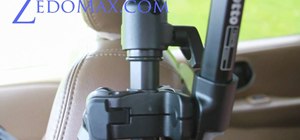
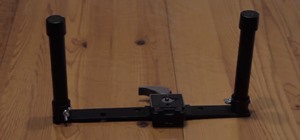
Step 15. Attach camera mount to rig
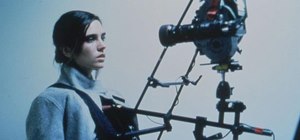
FACT: The first movie to use a handheld stabilized camera rig – or Steadicam – was the 1976 David Carradine film Bound for Glory.
Just updated your iPhone? You'll find new emoji, enhanced security, podcast transcripts, Apple Cash virtual numbers, and other useful features. There are even new additions hidden within Safari. Find out what's new and changed on your iPhone with the iOS 17.4 update.


2 Comments
Great video and tutorial! Very easy to follow.
I had some minor suggestions from my experience making this "fig rig":
-My top and bottom horizontal pieces ended up being longer than 6", so I'd suggest cutting those last. My top piece was 7.5" and my bottom was around 9".
-The suggested 4 inch carriage bolt was too long, IMHO. I went with a 2.5" bolt so that the camera was closer to the center and so that there was less exposed bolt between the rig and the camera.
-I also used small 1/4" rubber washers between the bolt head and nut so that the metal components weren't digging into the PVC.
-My last, and most important, suggestion is a pre-gluing step. When you first put the pieces together, making sure that everything is straight, use a permanent marker to make at least 2 marks across each joint (i.e. any place where 2 PVC pieces will join). That way you can line up each individual connection while gluing, without worrying that a piece might go on crooked.
great website for amateur film maker like me. it help a lot.thank you very much for sharing your knowledge.
Share Your Thoughts